MSEide MSEgui first step
The first mse program.
This introductory article for beginners. It contains step by step instructions to create the first program. Naturally, the software MSEide + MSEgui should already be installed.
Start MSEide.
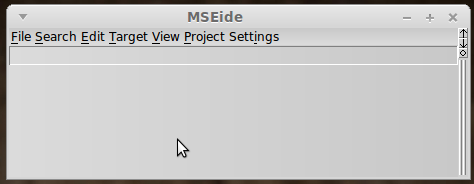
The screen should get a window similar to the following:
Let's create a new project.
Project menu (Project) - New (New) - From template (From Template).
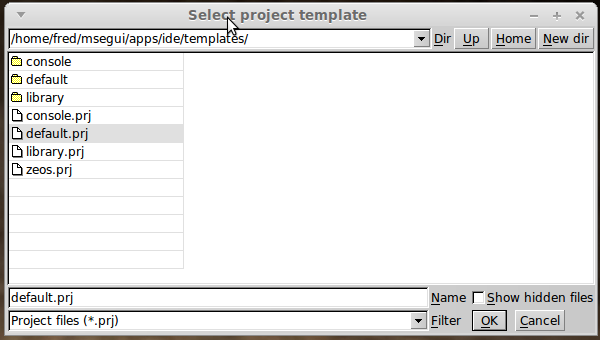
On the screen you get the following:

At this point MSEide prompts you to select a template file for the new project.
We can use or default.prj or default_all_langs.prj.
Template default.prj has a smaller executable file, default_all_langs.prj will connect automatically language constants,
and dialogs (eg, file open dialog), windows maintenance...
In this case, we do not have any dialog and service windows, so it is sufficient template default.prj.
Select and press the Ok.
Click new. Cat-g (New dir) to create a directory. In the dialog box that appears, type "hello" and click Ok.
In the second field from the bottom of the window New Project (New Project), enter "hello".
Prj extension will be added automatically.
Now click Ok:
You have created your first project !
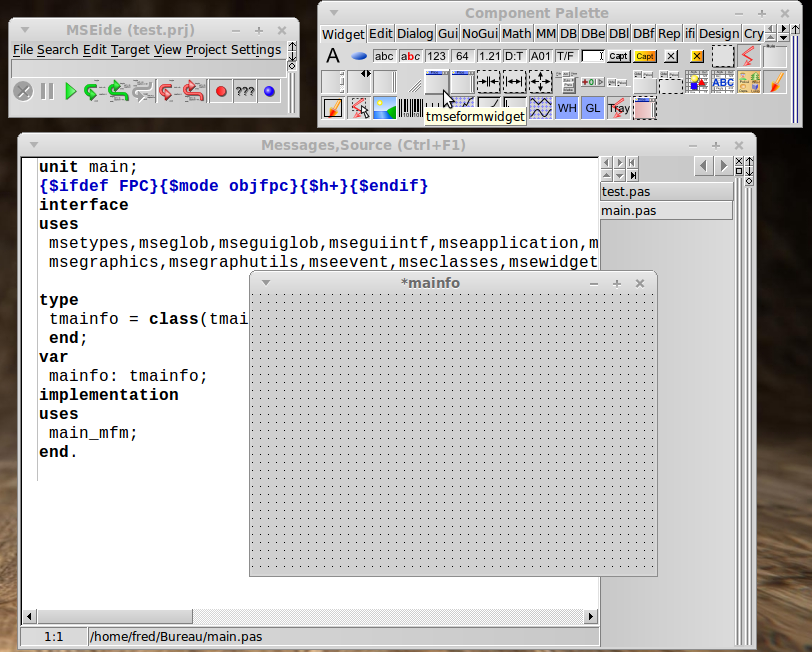
You should have at least four windows :
- 'MSEide (hello.prj)'
- 'Component Palette (Component palette)'
- 'Messages'
- 'Source Code (Source, Messages) (Ctrl + F1) 'and' * mainfo '.
Click on the box '* mainfo' (the smallest). Now you've got another important window => 'Object Inspector mainfo (Object inspector mainfo)'.
For added convenience, grab the mouse box '* mainfo' for any angle and a little stretch.
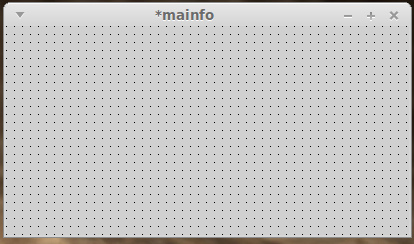
You will get something like this:

This is the main form of your project - its main window.
On it you will put the necessary visual or non-visual components.
Take components needed to be in the ('Palette components (Component palette)'):


